Introduction
If you search “how to build a WordPress website”, you’re most likely going to see search results showing tutorials for beginners’ guide to building their website. Most articles “boast” that you can have your WordPress website up and running within 15 mins, or generally under an hour. That’s probably true if you follow the steps shared and you’re satisfied with the end product. Tutorials also assume that certain conditions are met, or require you to do some actions after completing the tutorial.
In reality, I took way longer than an hour. If you would like to know the general steps for setting up your own website, check out my post here!
My Set Up Process And Duration
Deciding On Domain Name
Starting with my domain name, I spent a week brainstorming for possible domain names, checking if they are taken already, and asking my friends for their input as well. It’s probably comparable to a parent thinking of a name for their newborn child. “andreastories.com” was not decided in a snap of one’s fingers.
Choosing WordPress Hosting Plan
Moving onto web hosting service, I spent a couple of days researching about the various service providers and their corresponding plans, comparing them, and even consulting my professors for advice.
I feel that I had put in so much thought for choosing my domain name and hosting plan because I had to pay for both. If I chose wrongly, I would have to pay even more for a different domain or plan. I shared the breakdown of the costs for running my blog in this post. That said, there are free hosting plans available which can be a good start, but the features and visitor capacity are very low.
Building Website Design
Moving onto building my website, most tutorials would suggest a theme for you to choose and work with. But, the theme chosen may not fit the style or aesthetics that you want for your own site.
Choosing a theme or template
WordPress has loads of themes and starter templates available for you to choose from, both free and premium. With the wide variety of choices, there comes the paradox of choice. I kept browsing through all the themes available and activating different ones to see what they looked like.
I recalled that I initially narrowed down to the “Poseidon” and “Hemingway” free themes, but chose the former as the latter’s menu style looked like breadcrumbs instead. I was feeling quite satisfied as I was customising my website until I reached the footer. It turns out that I had to pay for the premium version to edit the footer. All I wanted to do was remove the “powered by WordPress Theme poisedon”, which didn’t justify paying for the premium.
So, once again, I repeated the cycle of trying out other free themes. Upon reflection, I felt that I was very attracted to themes or templates with very bold visuals and appealing graphics and text. However, what I really wanted was a clean magazine design that simply conveyed to my viewers: “just read”.
Finally, I settled on the OceanWP theme as there was a very high degree of customisation available for the free version.
Using WordPress admin dashboard
Besides selecting a theme, I also struggled with navigating the WordPress admin dashboard and using WordPress.
What are widgets? What are menus? What’s the difference between a page and a post? How do I design a page? How do I write a post? What is Elementor? How do I get to the drag and drop website builder interface? Where is the undo button? How do I change the font size and other styling options?
I had to figure out the answers to all these answers via trial and error, pressing a dozen different buttons and seeing what happens. This was quite a stark difference from my previous web application building experiences where I simply used my code editor to write HTML/CSS/JS.
At one point in time however, I also had to tinker with CSS to further customise my website.
Altogether, I spent 6 -7 hours building my website design.
That would probably be the end for beginner website builders, but for my personal blog, I wanted to add more functionality to it. Therefore, I had to add extra plugins to my WordPress site.
Adding Plugins For Added Functionalities
I wanted to set up a newsletter and let people sign up for it, so that I can send them a collection of my most recent stories on a regular basis to their inbox.
I also wanted to connect my WordPress blog to Google Analytics. Partially because I’m taking a module on Digital Media Marketing and another on Search Engine Optimisation and I think this blog would be a good platform for me to apply some concepts learnt!
For those 2 main functionalities, I took time to research on top free plugins available and compare them, before installing the selected few. Afterwards, I had to complete the set up steps required and ensure that things are working fine.
The whole process for adding plugins for more functionality took me around 4 hours. That said, I’m still learning to work with those plugins and expect changes to come in the future.
Summary Of Time Taken For All Website Set Up Steps
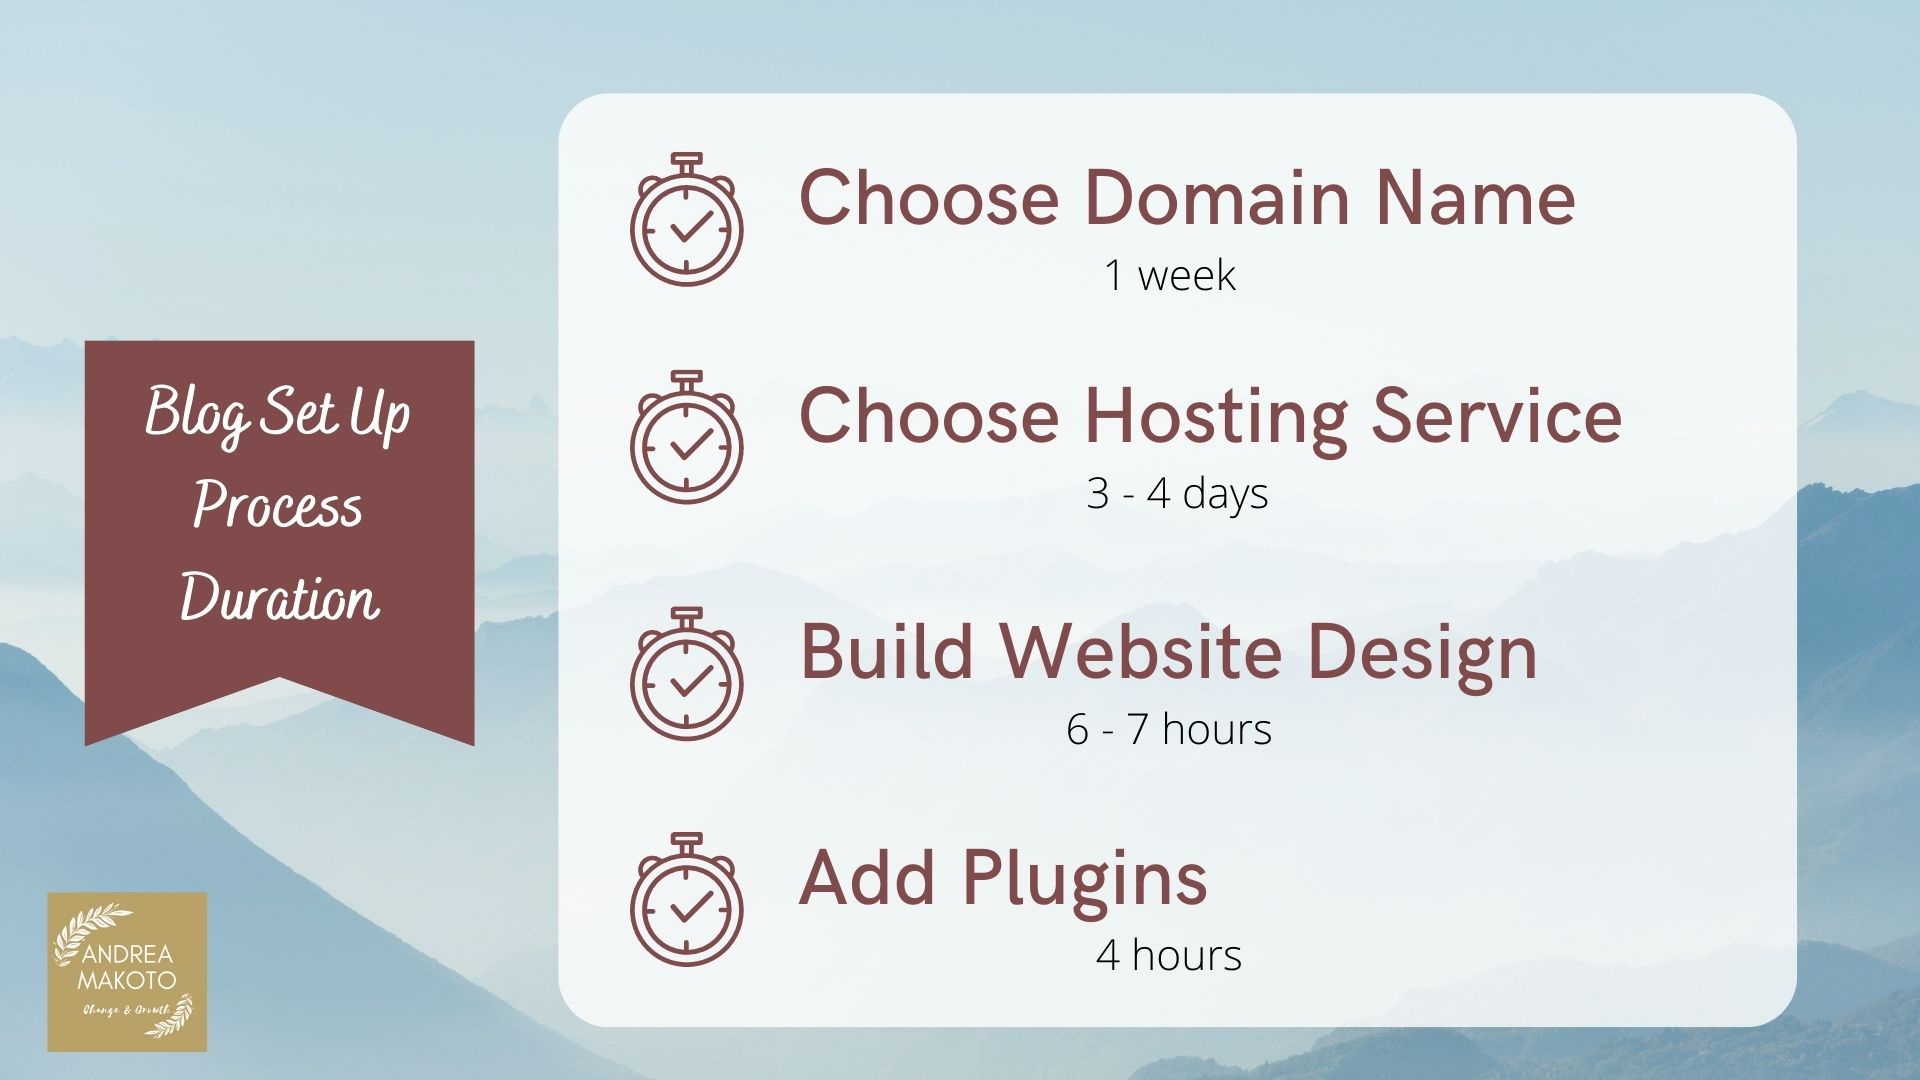
- Deciding on a domain name: 1 week
- Choosing a web hosting plan: 3 – 4 days
- Building website design: 6 – 7 hours
- Adding plugins for desired functionalities: 4 hours
Ending Note
As a beginner, I needed some time to get pass the learning curve(s) and get things running the way I wanted, which explained why I took close to 2 weeks. Overall, building a website is not instantaneous and can be bumpy. Be prepared to search for solutions and try workarounds.
That said, kudos to everyone who took the step to set up their own websites too, I appreciate your effort!
Thank you for reading!